
How to deploy to multiple AWS regions with Laravel Vapor
Posted on 31 July 2021

Picture this, you're developing a Laravel app that will be deployed using Laravel Vapor, you want to deploy this app to multiple regions because you want redundancy or simply to serve multiple locations. This is all possible, just a little fiddly.
Each Vapor project is locked to a specific region, so to achieve deployments to multiple AWS regions, this post will involve creating multiple Vapor projects assigned to different AWS regions.
To get started, you will need to install the vapor-multi-region-deploy
package in your Laravel app using composer:
composer require thebytelab/vapor-multi-region-deploy
Create a vapor directory in the root of your Laravel project, this will serve
as the place where your Vapor manifests are stored.
mkdir vapor
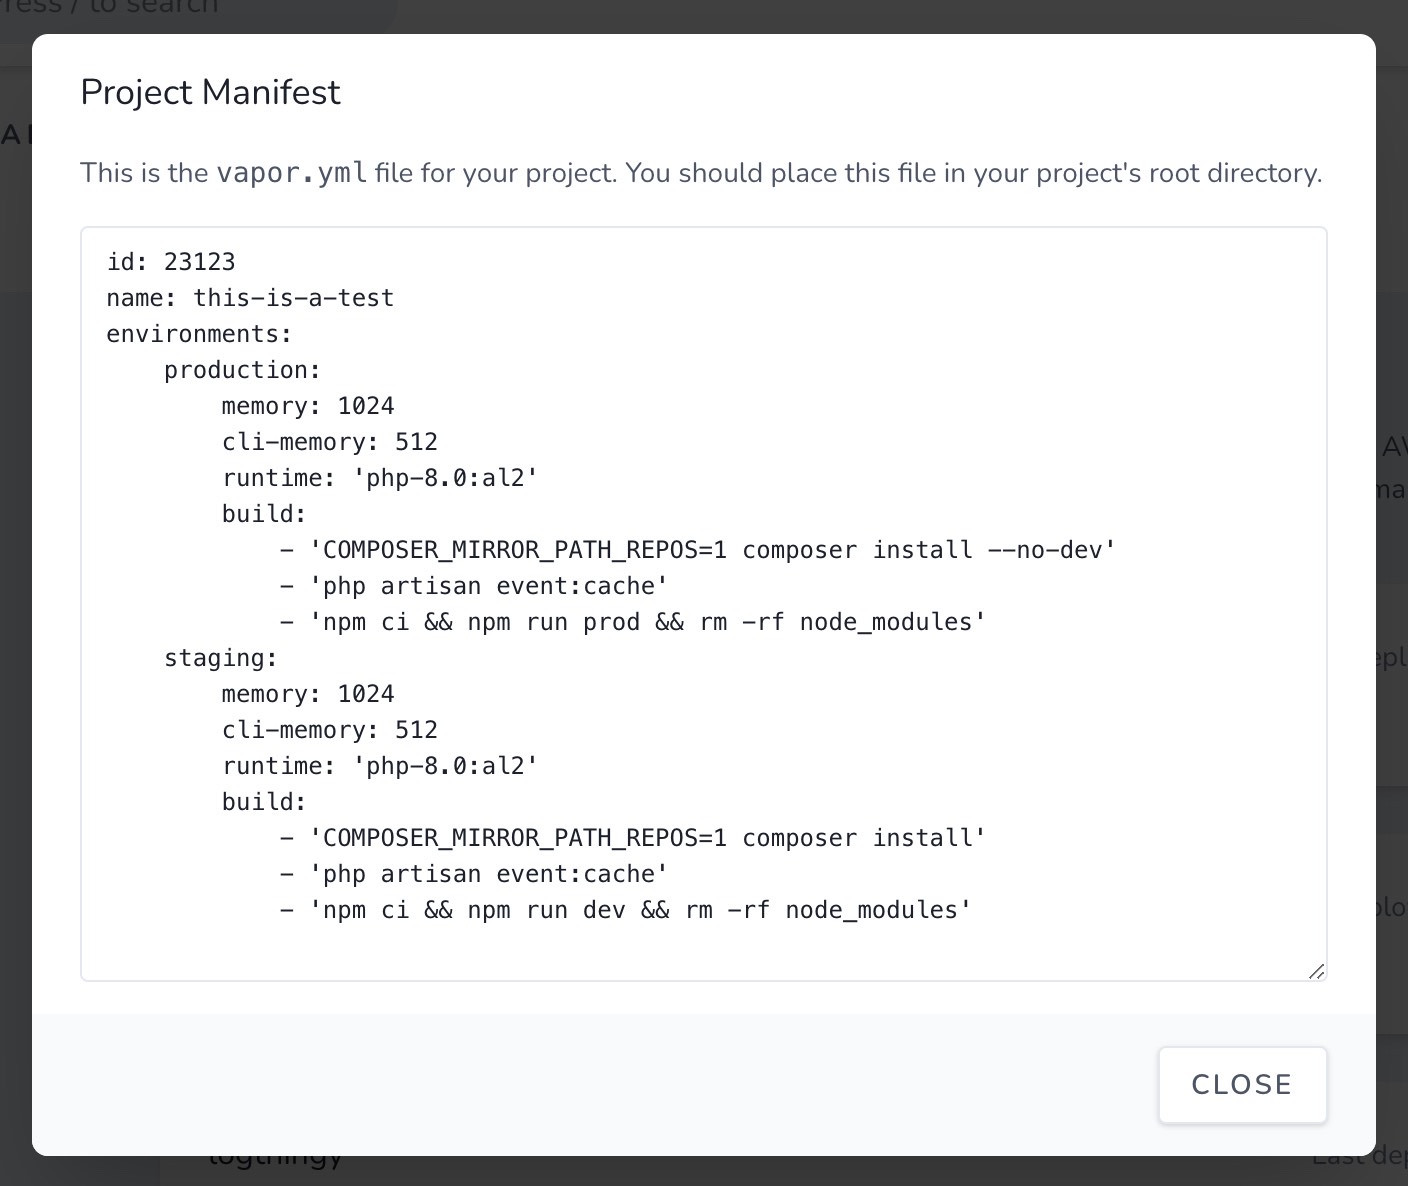
Go to your Vapor dashboard and create a new project for each region you want to serve, make sure the AWS region you choose provides all of the services needed for your app to run.
When you create each project in Vapor make sure to copy the contents of the
'Project manifest' modal in to a REGION.vapor.yml to store in the vapor
directory created previously.
There isn't a set naming convention for how to name your Vapor files so this comes down to personal taste. I like to stick to the name of the region e.g.
- eu-west-1.vapor.yml
- us-east-2.vapor.yml
- ap-northeast-1.vapor.yml
Note that the Vapor files must end with .vapor.yml.
With all of your Vapor files in place, it is time to try a deploy. The default
environment it will deploy to is staging, so if you want to deploy to a
different environment make sure you specify it when running the command.
php artisan vapor:multi-region:deploy
php artisan vapor:multi-region:deploy production
If you run in to any issues or weird errors, open an issue over on GitHub.
Looking for some advanced usage options?
This post won't document all of the options available, if you're looking for that, the readme available on the GitHub project details all of the ins and outs with examples.